Clay is a versatile and rewarding medium to work with, offering endless possibilities for creativity and self-expression. As a beginner in ceramics, understanding the basic principles and techniques can make the learning process smoother and more enjoyable. This article will provide a clear explanation of the fundamental steps and concepts to help you begin your journey with clay.
Understanding the Material
Before you start working with clay, it’s important to understand its characteristics and how to manipulate it. Different types of clay behave differently and are suited for various techniques or firing temperatures. As a beginner, it’s essential to choose a beginner-friendly clay, which is forgiving, versatile, and can withstand different firings.
Prepare Your Workspace
A well-organized workspace will make the process much easier for you. Ensure you have the right tools and materials, such as a non-absorbent work surface, water container, and basic tools like rib, loop tool, and sponge. Keep these tools within reach for easy access.
Getting Started with Clay Techniques
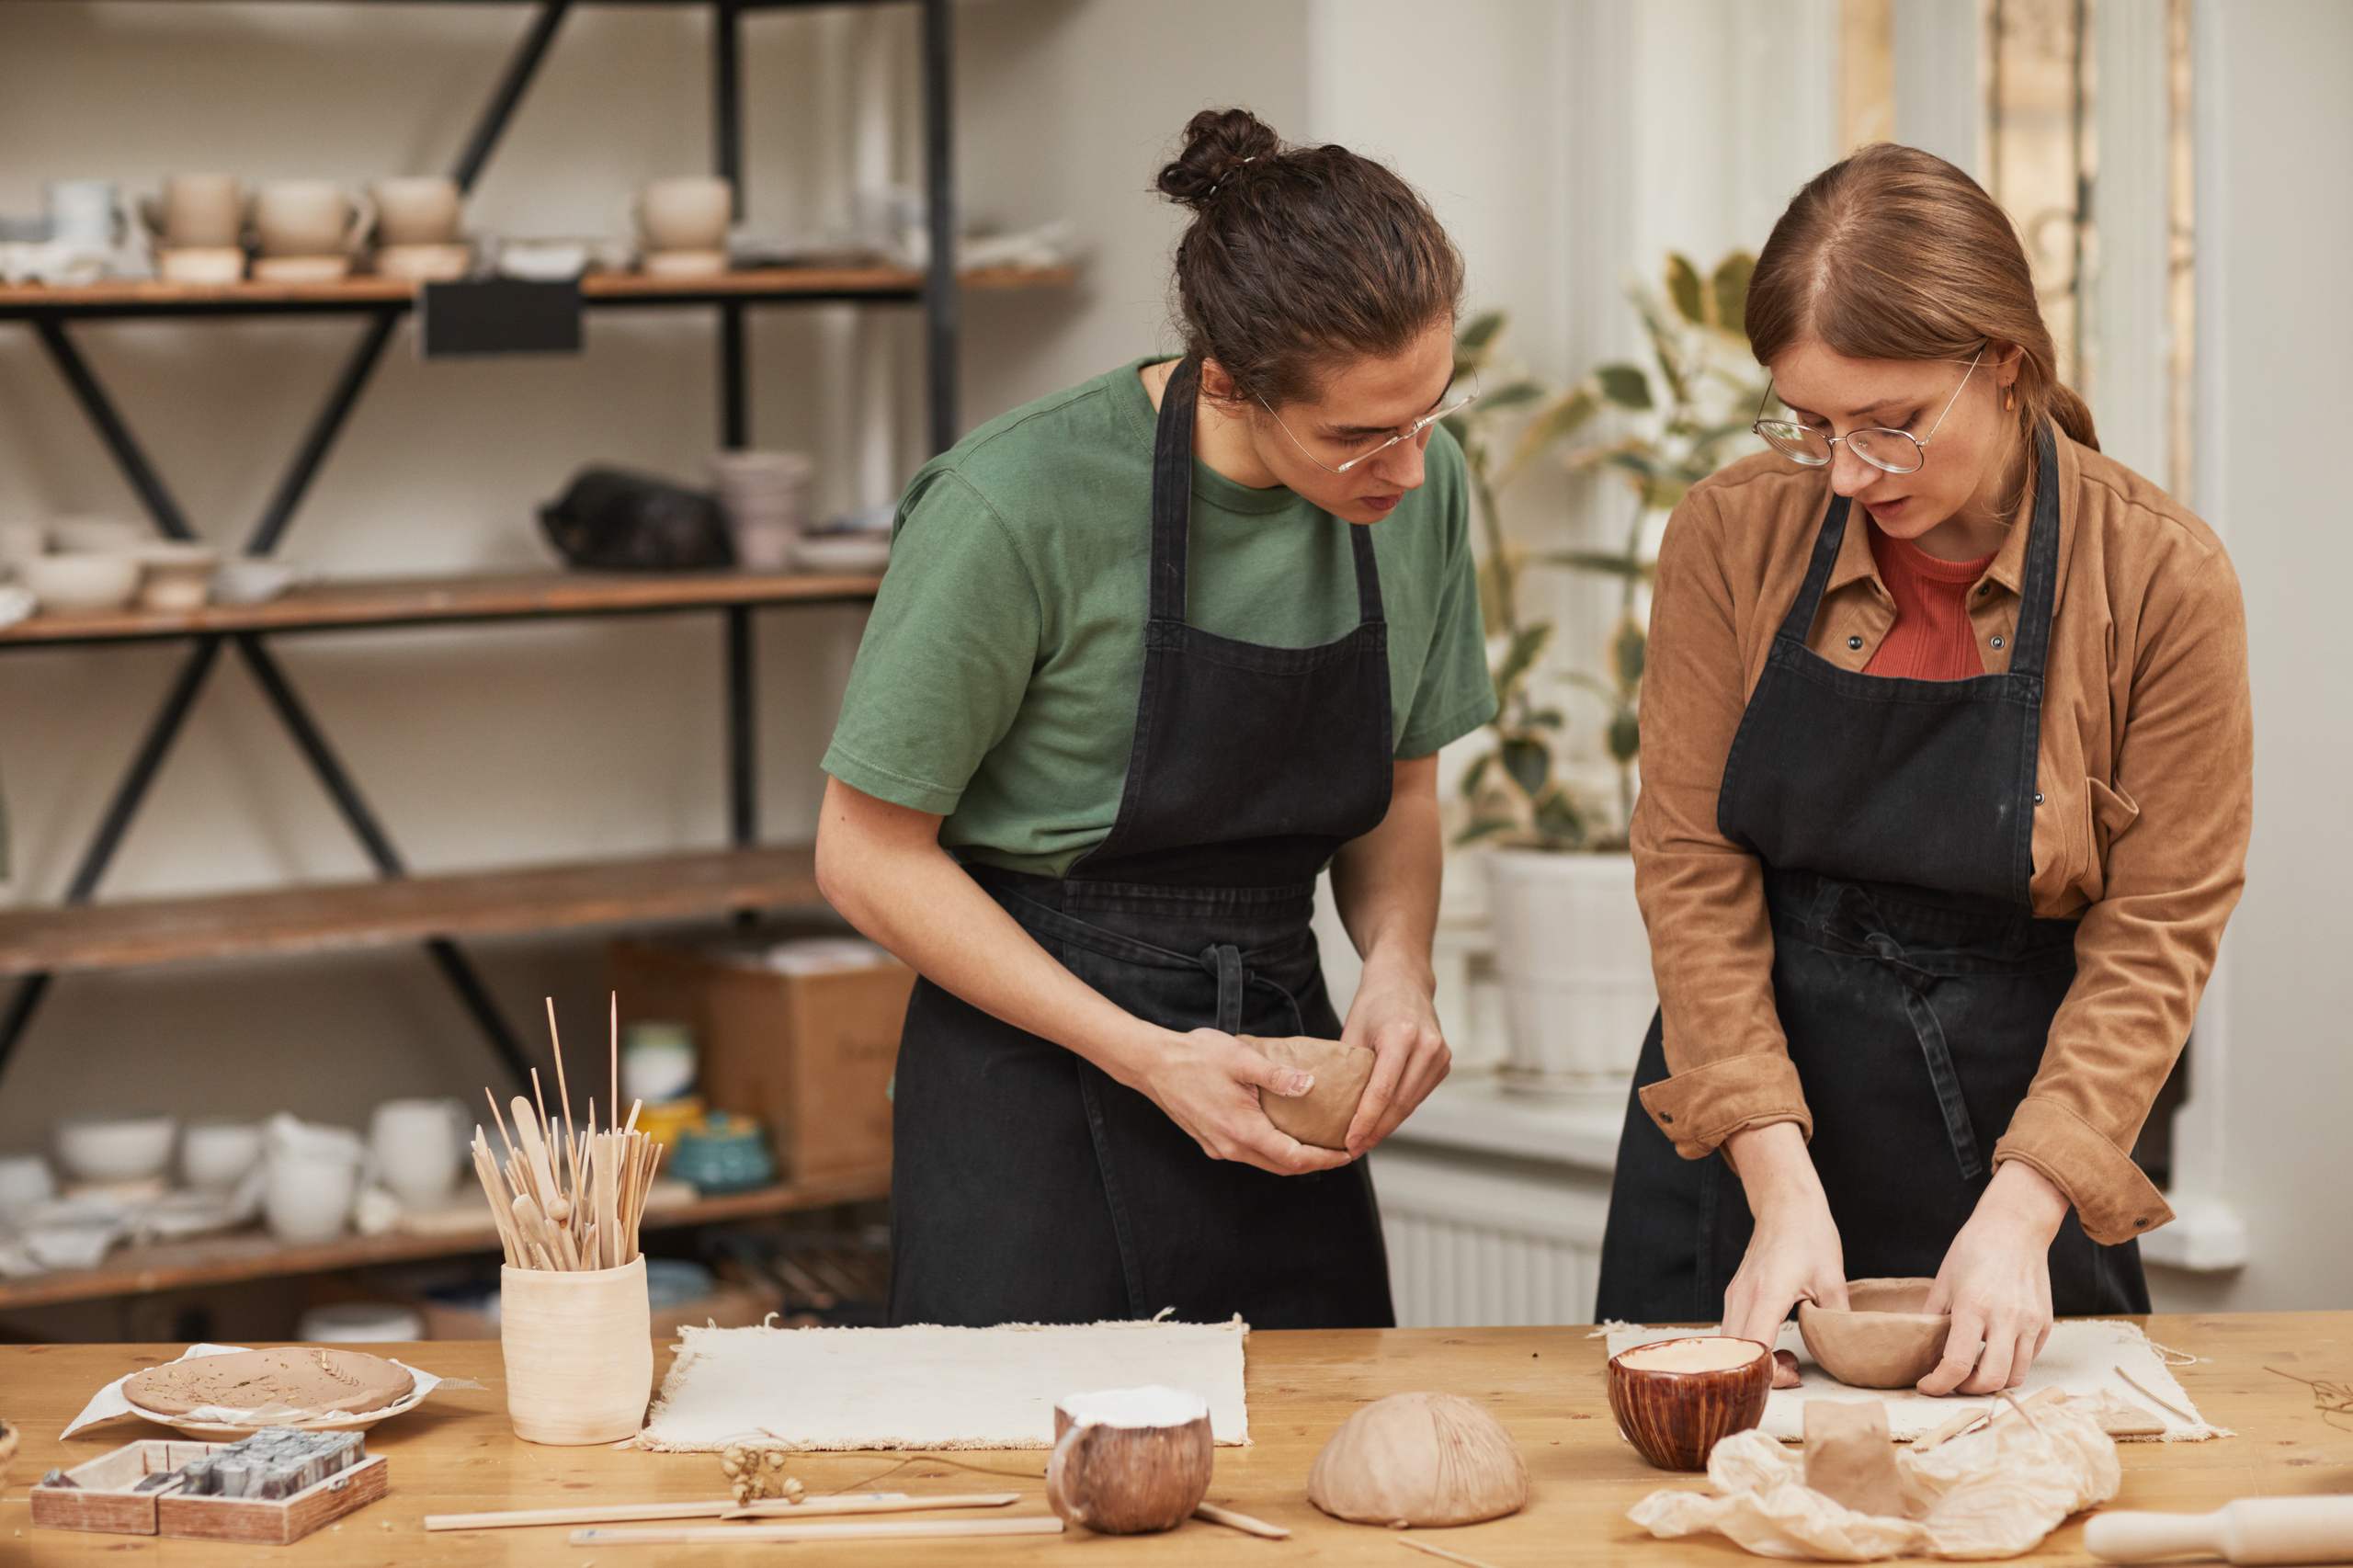
Basic techniques you can use to make forms include pinching, coiling, and slab building. As a beginner, it’s advisable to start with simple forms, such as a small bowl, plate, or vase. These hand-building techniques are excellent methods for making pots and other shapes without using a wheel.
- Pinching: This method involves shaping a ball of clay using your fingers to create a simple bowl or organic form.
- Coiling: This technique involves creating long pieces of clay and coiling them into a shape to build a form upward.
- Slab Building: This process involves joining flat sections of clay to form the shape of your choice.
Shaping and Detailing Your Form
When shaping a piece of clay, it’s important to take a slow and steady approach. Work with patience, observing how the clay feels under your fingers. Adjusting to the pressure and learning when to apply more or less force is crucial. Remember to smooth the walls of your piece and create an even thickness. If you want to include more detailed forms, such as handles or feet, add them at the leather-hard stage when the clay is less likely to sag.
Surface Decoration
Surface decoration can take many forms, including carving, making impressions, or adding marks or patterns. Be mindful of the scale of the decoration in relation to the overall object to avoid overwhelming it.
Drying Your Piece
Clay should dry slowly to prevent cracking and to ensure that your piece maintains its shape. You can protect it with cling film or create a simple drying system in your workspace. Make sure your unfinished work isn’t disturbed during this time. It’s also essential to have a system for storing pieces awaiting the firing stage.
Accepting Imperfection and Learning from It
One of the main challenges when working with clay is avoiding an overly perfectionist mindset. Recognizing the inherent beauty in imperfections will enhance your appreciation for handmade objects and help you understand the limitations and strengths of working with clay. When your work doesn’t turn out as expected, look for valuable lessons within the experience.
Next Steps
Once you have gained a basic understanding of the principles of working with clay, regular practice and experimentation will help you develop new ideas. Consider taking simple exercises and following a step-by-step process for a beginner-friendly project. Keep practicing until you’re comfortable enough to start experimenting and making changes to your process.
Remember that clay is not a forgiving material, as it will crack if it’s too dry and fall apart if it’s too wet. Patience is a valuable skill, and taking your time to observe and understand the process is equally as important as developing a sure hand.
By following these steps and embracing the journey of learning, you’ll be well on your way to enjoying the process and creating unique pieces from working with clay.